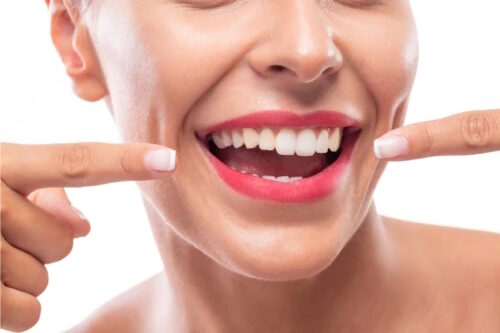
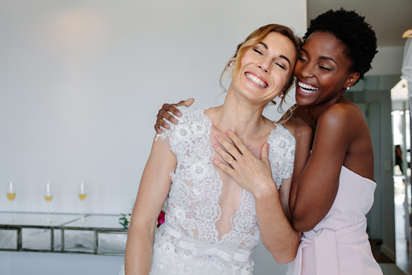
Wearing a wig isn’t just a change of hair — it’s a tiny, high-impact identity edit. Whether you slip one on to shortcut a morning routine, to test-drive a dramatic color, or to build a new mood for an event, a wig can feel like stepping into a curated version of yourself. But not all wigs are created equal: the cut, the part, and the way the hair meets your skin all change the experience. Today we’ll lean into a precise — and surprisingly stylish — topic: how parting and “leave-out” techniques influence the most important thing about a wig: how it feels on you.
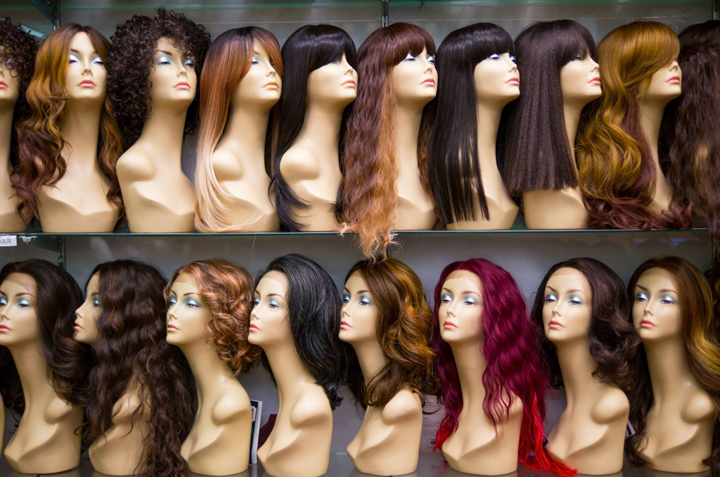
The Part That Makes the Difference
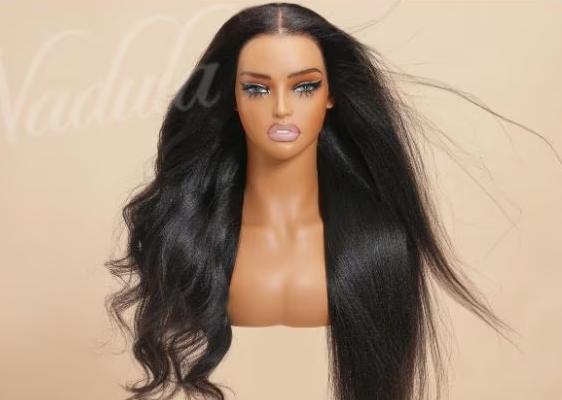
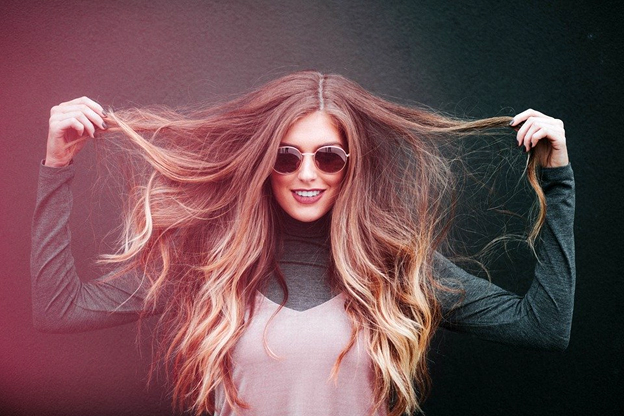
Think about your natural part. It tells a story — of face shape, of the way you sleep, of 10 years of hair habits. When you put on a wig, the part is the most intimate piece of visual continuity. That’s where the illusion either sings or whispers. If you’re chasing realism and comfort, consider exploring specialized parting options like the Unice Wigs V-part type. A V-part is subtle but clever: it mimics the soft triangular openness of a real scalp parting, giving you that believable depth without the fuss of heavy customization.
V-part wigs are particularly smart for people who want a low-fuss, natural look but still value versatility. They sit flatter at the crown, allow for a bit of hair to be blended in around the part, and create the small shadow and root depth that make a wig read as lived-in hair instead of a costume. For anyone who’s tried a center part lace front and thought “close, but not quite,” a V-part is a gentle upgrade.
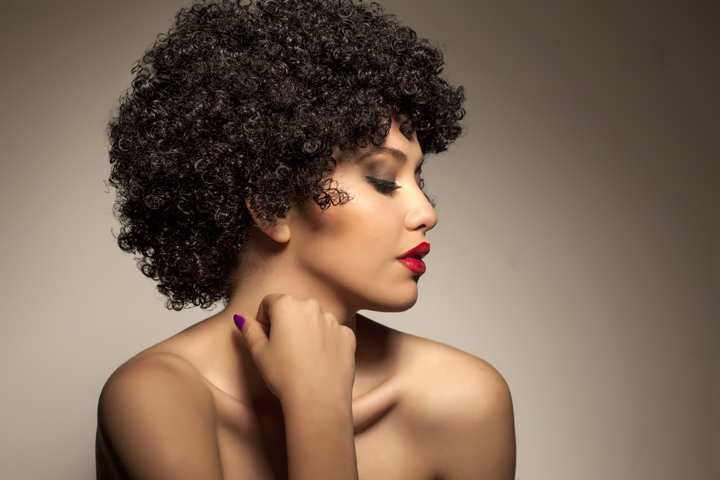
Leave-Out Wigs: The Secret Handshake with Real Hair
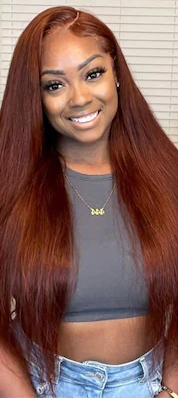
If you adore the freedom of switching styles but aren’t ready to fully commit to a wig-only life, “leave-out” techniques offer a satisfying compromise. The idea is simple: you leave a strip of your own hair out at the front or along the part, and the wig blends over and around it. This creates a seamless transition between scalp and wig and — critically — lets you keep sensory cues from your own hairline. A good primer on styles that embrace that hybrid effect is a practical search for leave out wigs.
Leave-out styles are brilliantly tactile. When you run your fingers along your hairline and feel a whisper of your own hair mixed with the wig, the whole piece suddenly reads as yours. For people who value feeling anchored to their face (or who need their hairline to match a certain outfit or makeup look), leave-out wigs are a quiet revolution.

Styling Tips That Keep Wigs Feeling Effortless
Treat your wig like a favorite jacket — the one that looks great no matter the outfit. A few styling rules:
- Blend the part: Use a small amount of powder or a root-touch product at the part for depth. It’s the difference between “nice wig” and “could be my hair.”
- Mind the hairline: For leave-out looks, a light mist of flexible-hold spray and a soft brush will keep your natural hair and the wig sitting together without appearing stiff.
- Minimal heat, maximum shape: If you have heat-friendly fiber or human hair, style to set the silhouette rather than overhaul it every day. Soft waves or a clean lob will stay chic longer than high-maintenance curls.
- Secure subtly: If you need extra hold, discreet wig tape at the temple or a fine comb inside the cap keeps everything in place while preserving a natural hairline.
Caring for Comfort: Quick Rituals That Matter
Comfort is a product of both fit and routine. Spend five minutes after each wear:
- Gently detangle from ends to roots with a wide-tooth comb.
- If it’s human hair, wash every 10-14 wears with a sulfate-free shampoo; synthetic pieces need less frequent washing.
- Allow the wig to air-dry on a stand to keep cap shape and prevent odors.
- Store it on a head form or padded hook so the cap doesn’t lose its shape.
These small rituals keep the wig feeling luxe and personal — because the way it feels under your fingers is half the magic.
Why It’s Worth Experimenting
Wigs are less about hiding and more about freedom: freedom to be different that day, to wear confidence like an accessory, and to play with identity without a permanent commitment. Whether you opt for the subtle realism of a Unice Wigs V-part type or the hybrid warmth of leave-out wigs, the right choice will be the one that feels closest to you when you look in the mirror and touch your hair.
So next time you’re tempted to swipe a color or chop a length, consider trying it in a wig first. It might just be the easiest, most stylish way to learn something about how to revitalize your appearance.